


How To Setup Roku
1. First, create your Roku account. If you already have a Roku account, please sign into your acvcount. If you do not have an account, please create one using the following options:
a. If you do not plan of purchasing premium channels or features, go to https://my.roku.com/signup/nocc.
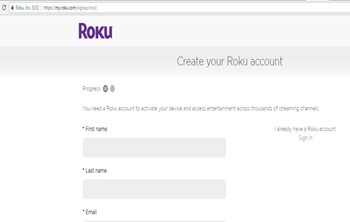
b. If you plan on purchasing premium channels or premium features, go to https://my.roku.com/signup. Plase note that you will need to have your credit card so you can have it stored to your account to make purcahses. You will have an option to create a pin to be used to authorize purchases.
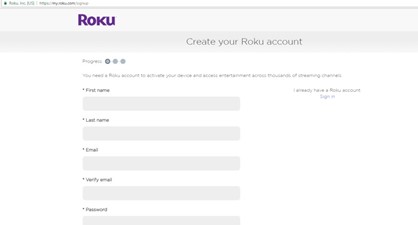
c. Please note that both sites look similiar however please pay attention to the web address.
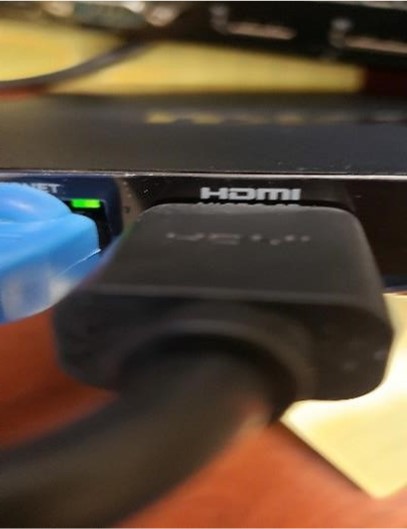
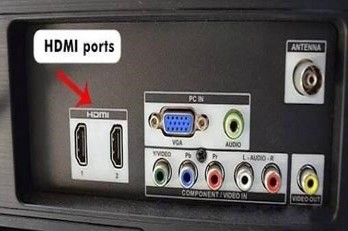
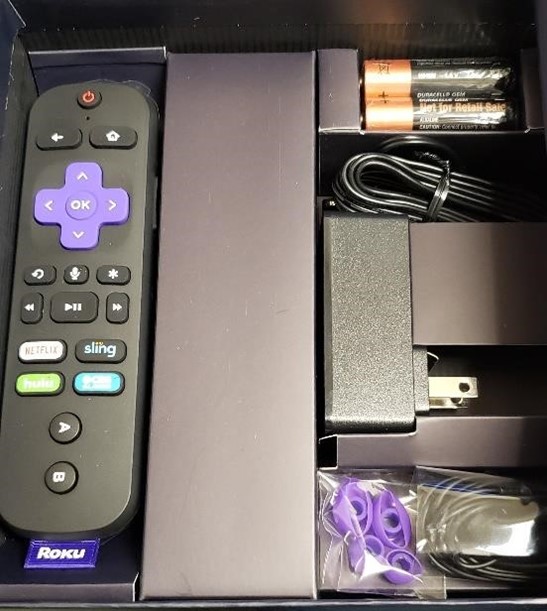
2. Plug in your Roku device to your TV with an HDMI cable. Please note that the HDMI cable is not provided, however you can purcahse one on Amazon.com or Walmart.
3. Plug in the Ethernet cable to the back of the Roku and plug the other end of the cable in the far right port, marked "E3", on the AP (Wi-Fi box) that is in your room near the ceiling.
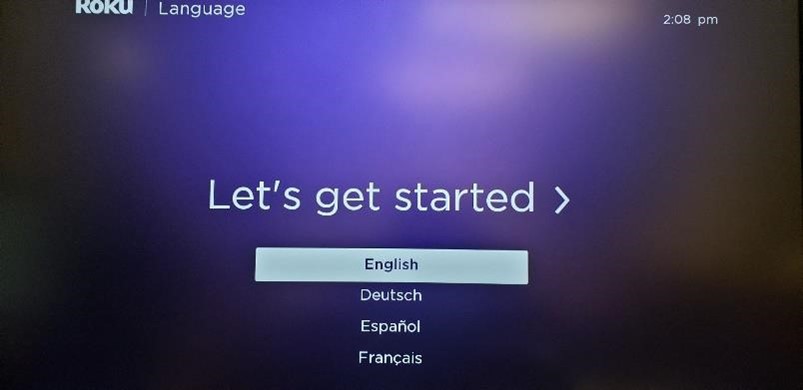
5. Once the device is turned on, you will see a "Let's Get Started" screen. On this screen, it will ask for you to select your language. Please select the language that you prefer on the list of languages provided.
a. This the screen you will see:
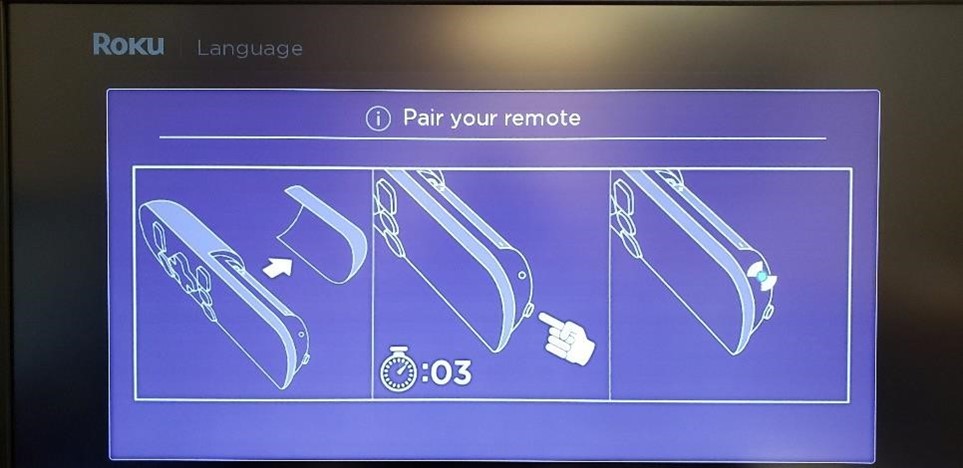
b. Please also note that if the remote did not automatically pair itself, you may also see the option to pair your remote so just follow the instructions on the screen.
6. After you have selected your language, it will test your network connectivity. It should test fine, however if you have any errors, please inform your RA or Dorm Director. Then cal 615-963-7777 to create a ticket for someone to come and look at it. Please make sure that before you call that you have the Ethernet cable plugged into the correct port (E3) and that the lights in the front of the AP are on and green.

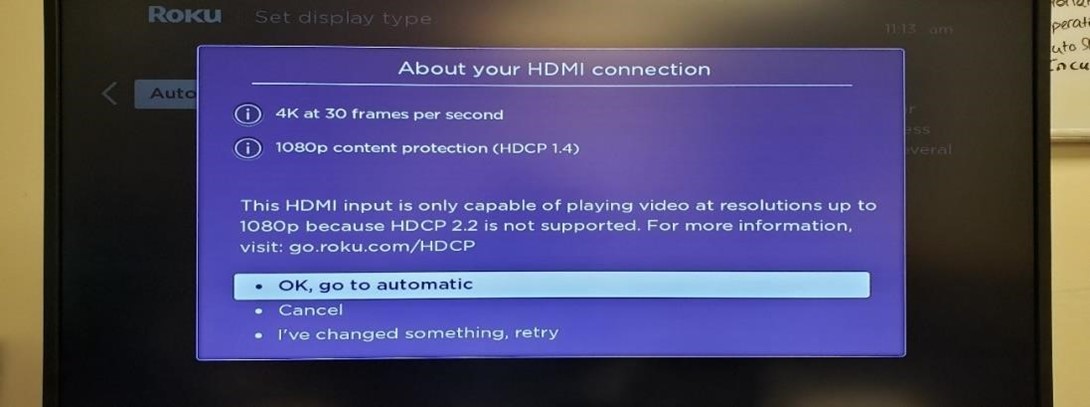
7. After the network test have been completed, you will be on the "Set Display Type" setup. Press Ok for the Roku to test your display settings. Once complete, press Ok to select the suggested setup. If you display connection cannot support 4k, it will give you an option to select "Ok, go to automatic". Select this option to move on to the next page.
a. Press ok on the remote when you see this screen.
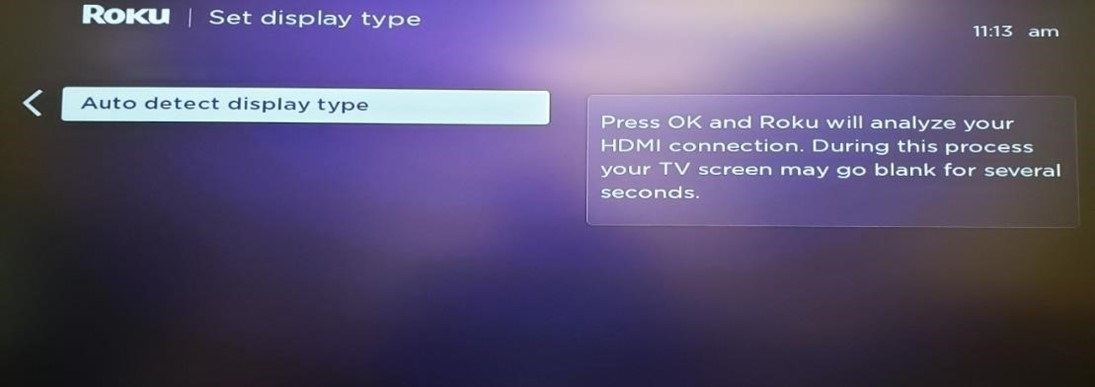
b. If you display cannot support 4k, just press Ok for Roku to use its automatic settings.
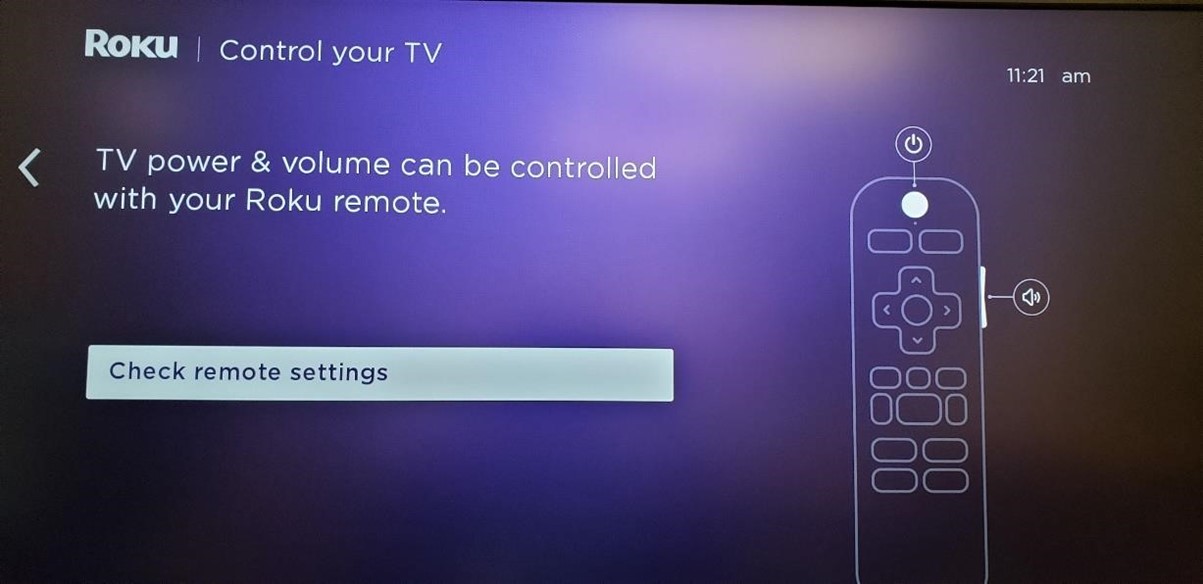
8. Next, it will have the option to setup your remote to connect to your Tv volume and power. If you do not wish to setup your remote to control your TV, press Ok, and then the arrow in the top left-hand corner of the remote. This will allow you to go to the next screen to link your account to the Roku.
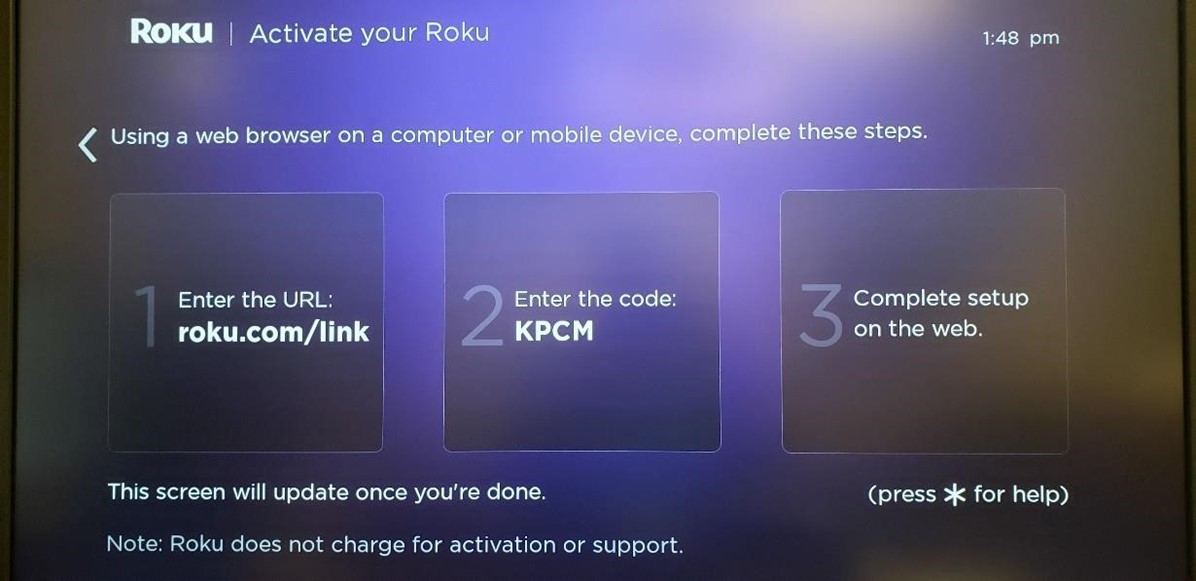
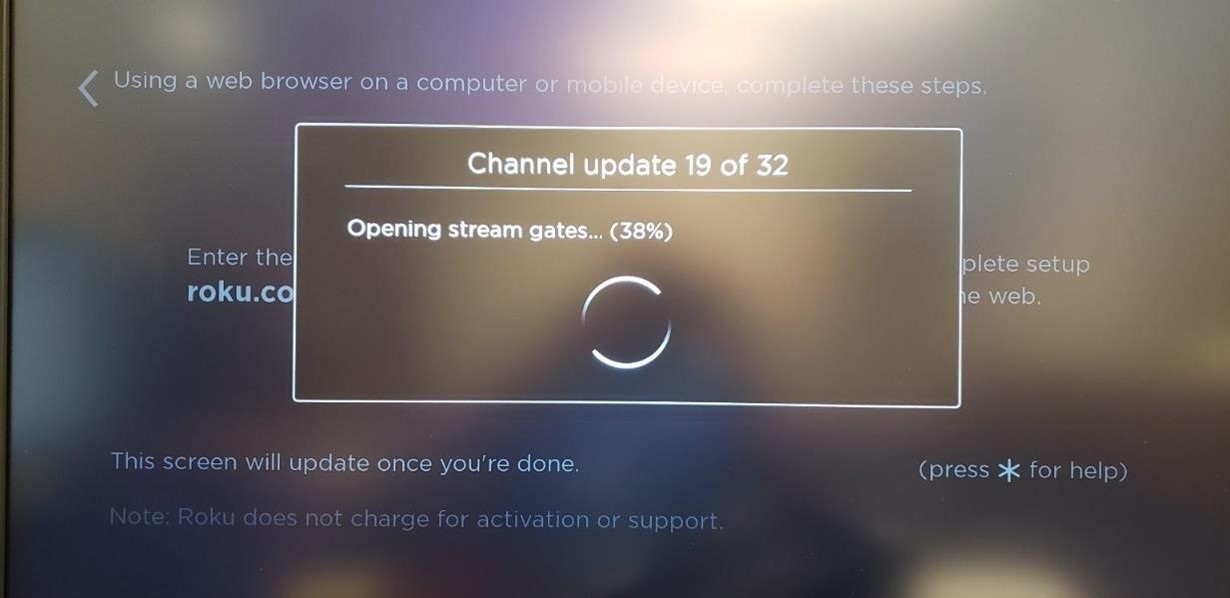
9. Once you see the "Activate your Roku", follow the instructions on the screen. Please note that the code is case sensitive so enter it in exactly as you see it.
a. This is what your screen look like:
b. You will see this screen on your computer:
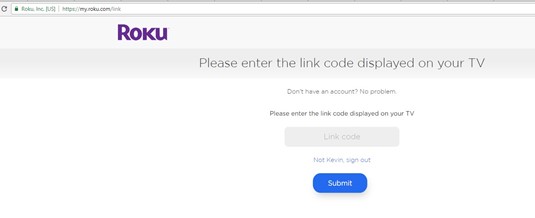
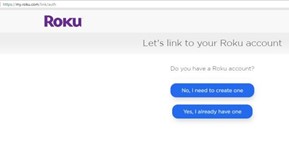
c. After you enter in your code, it will bring you to a screen to link your Roku account. Click on the option that you already have one and sign in with the account you created in step 1.
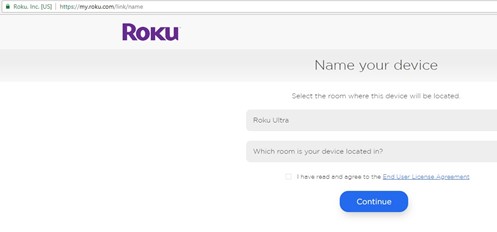
10. After your Roku is linked, you will have to name your device and then select its location.
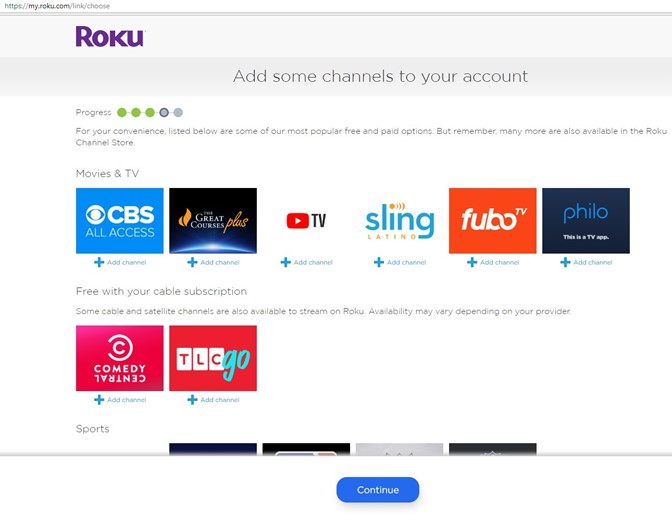
11. Next, you will have the option to add suggested channels to your device, however it is recommended to do that later after the setup so please click Continue. If you choose not to add the suggested channels, you can add those later. If you choose to add the channels, it will take longer to update the channels (see Step 12).
12. Next after you have successfully linked your Roku to your account, press "OK" on your Roku remote so it can update the pre-programmed channels. Once finished, you can now use your Roku Device.
How to Add Xfinity on Campus
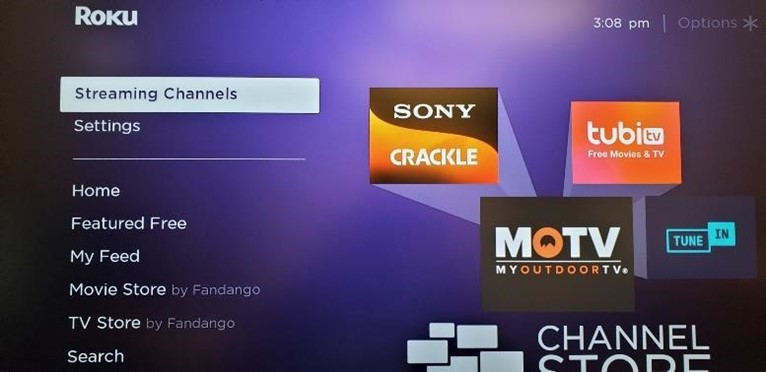
1. On the Roku home screen, scroll to and select "Streaming Channels" and press "OK" on the remote.
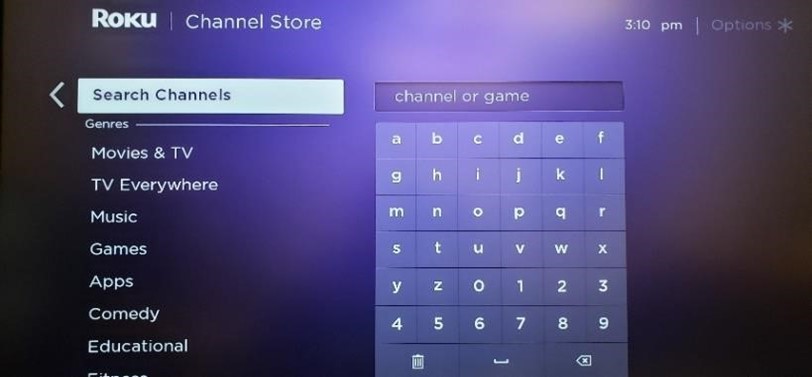
2. Once you are on the Channel Store page, scroll down and select "Search Channels" and press OK.
a.
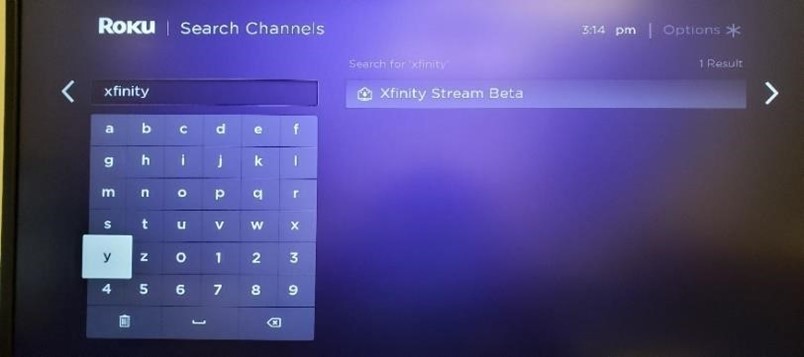
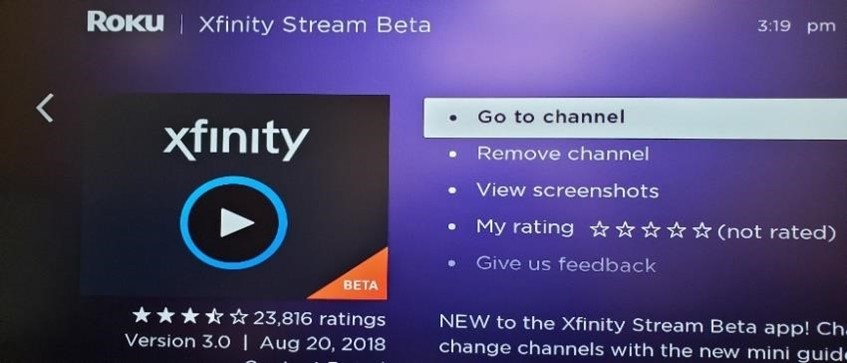
b. Search for Xfinity and select "Xfinity Stream Beta".
c. Select "Add Channel".
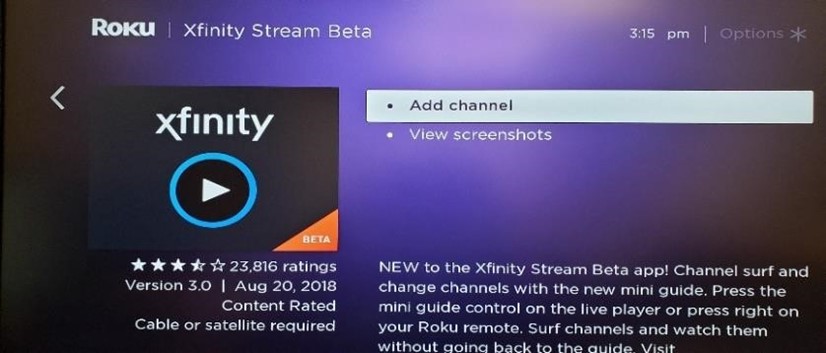
d. After the channel has been added, select "Go to Channel".
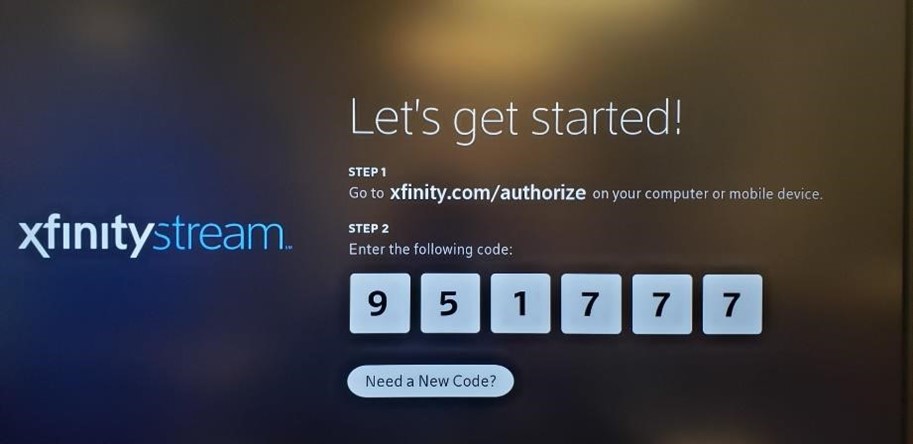
3. Once you are in the Xfinity App, select "Get Started" and follow the steps on the screen to authorize your device.
4. After your device is authorixed, you will need to sign in. On the sign in page, make sure that you select the option that says "Xfinity on Campus Students Sign In Here".
a. 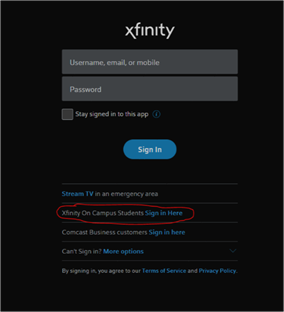
b. Next, search for Tennessee State University.
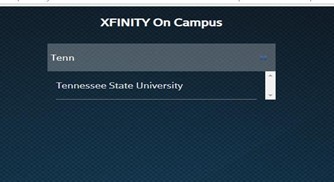
5. After you gave selected Tennessee State University, you will need to enter your My TSU username and password. Once your information has been entered, you will see the screen below:
a.
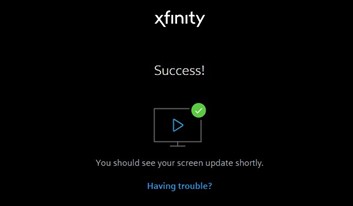
b. You will see this screen on your Roku:
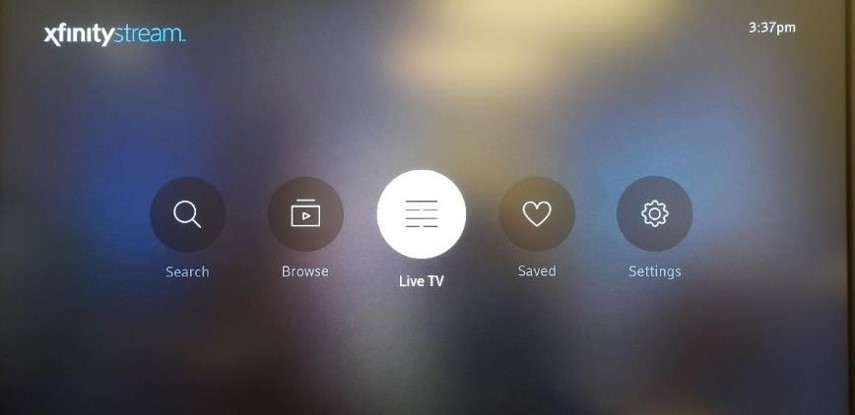
6. Select Live Tv and enjoy your Xfinity on Campus Experience. If you have any questions in regards to channels or features, please reach out to Xfinity's Customer Service at https://support.xfinityoncampus.com/hc/en-us.
7. Troubleshooting Tip: Reboot the Roku if you are having problems with the device not working properly.