


Citrix Workspace Instructions
Work on the TSU Network from External Locations
Directions:
Click here for a pdf copy of the following instructions:
Citrix Instructions
(Using Windows PC or MacBook)
Citrix Instructions
(Using iPad or Android device)
Remote Desktop using Citrix Workspace
(Use after installing Citrix Workspace)
1. Determine if the Citrix Workspace App (formerly Citrix Receiver) is already installed. If it is a PC with the TSU image on it, it should already be there. If the Workspace App is installed skip to step 3.
2. To install the Citrix Receiver, open a browser and navigate to:
https://www.citrix.com/downloads/workspace-app/
Pick the appropriate version for your operating system and install.
3. The Workspace App does not require configuration to work. After installation, users can navigate to https://citrix.tnstate.edu to login and launch Citrix applications. The client can be configured to automatically connect to the Citrix site. The configuration is user specific, so before continuing, make sure you are logged in as the standard user of the computer.
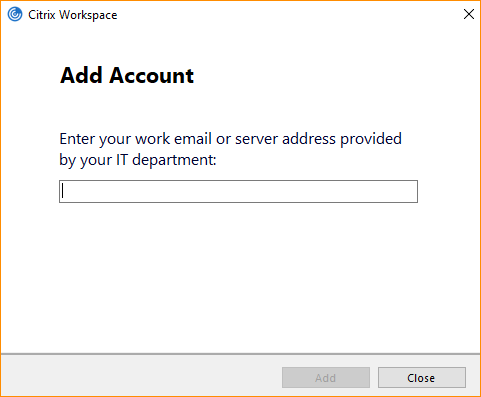
4. Either after installation or on logon, a screen will appear asking for a server name or email address:
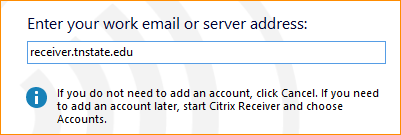
5. In the blank space, enter "receiver.tnstate.edu".
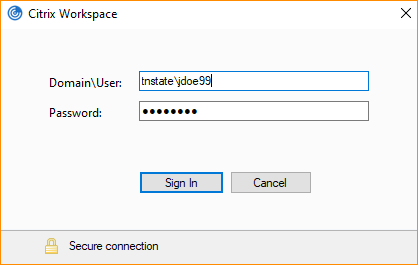
6. Click Add. The user will be then be prompted for their Windows username and password. Enter your Windows username and password and click Sign In.
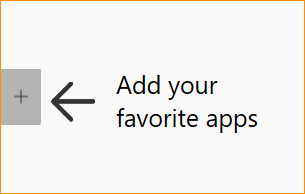
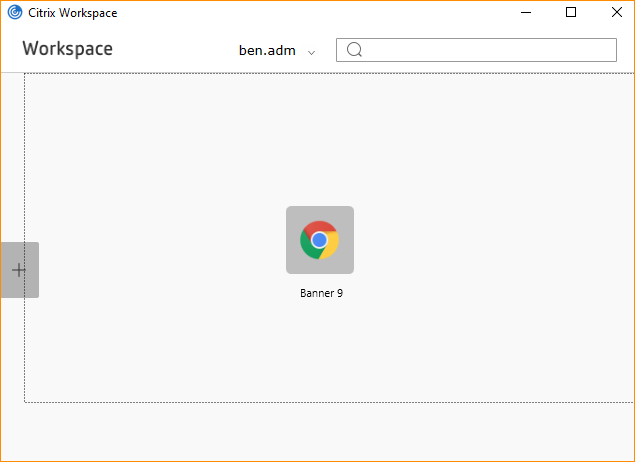
7. After successful logon, click the "+" button on the left-hand side of the screen:
8. From the pop-out, select All Application and then the Citrix application to which you would like to put a shortcut onto the receiver surface:

9. You can add as many Citrix applications as you would like!